Live Upgrades
Live Upgrades allow you to add additional mechanical work to a vehicle, without that vehicle leaving Production, or going back through the Prep Admin team for pricing. This is designed to allow operatives to keep a vehicle (often on the ramp) in production, for additional work, streamlining the overall production process.
Performing a Live Upgrade
Find the vehicle you wish to upgrade from 'Vehicles for Production', and click its VRM to open the vehicle. From there, select the Live Upgrade tab:
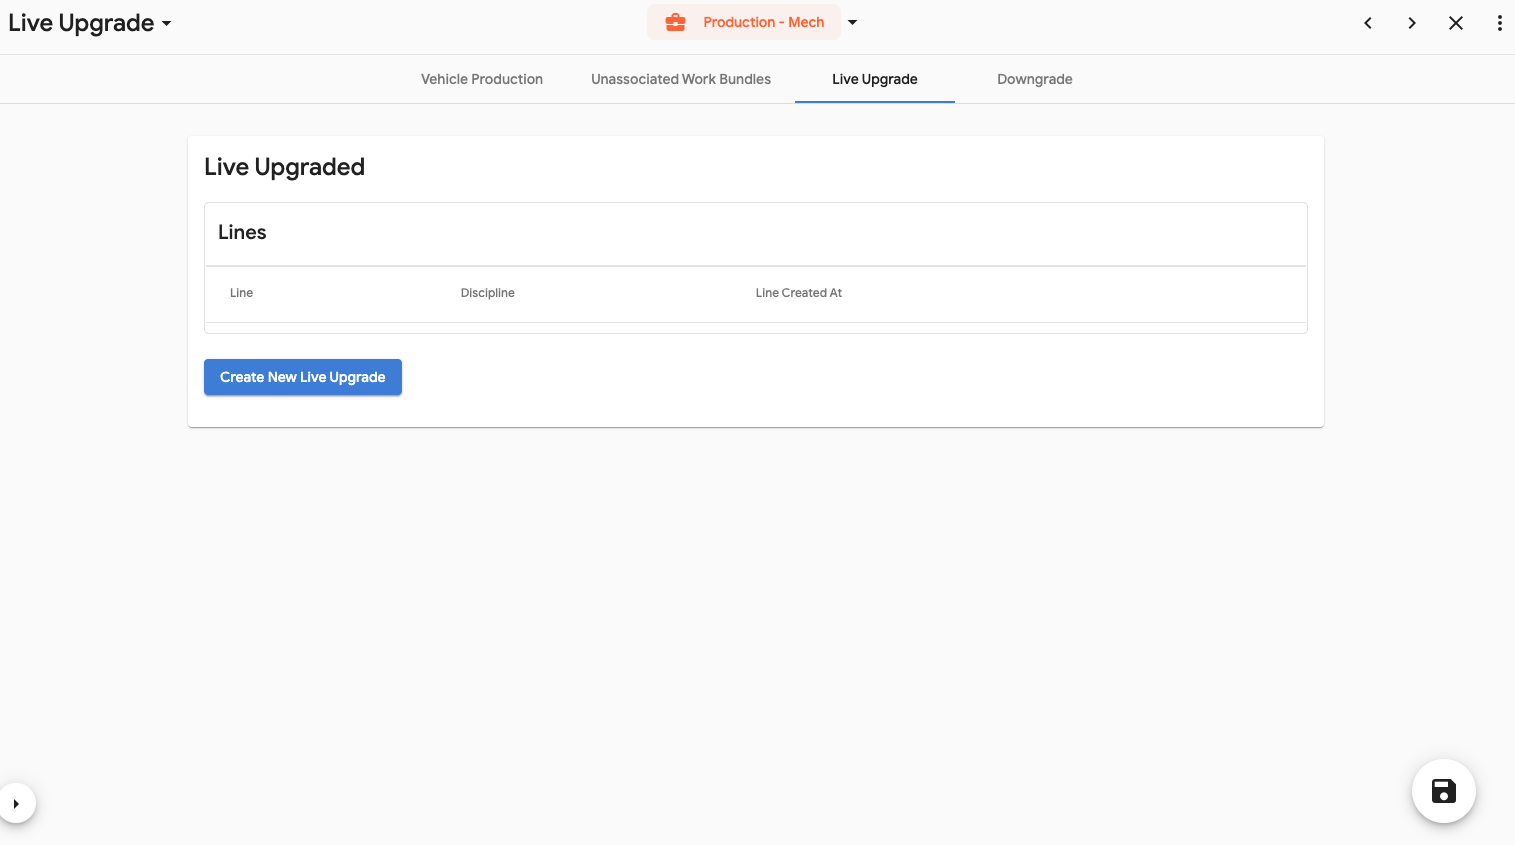
To perform the upgrade, you'll need to specify the work you are adding. Press "Create New Live Upgrade" to begin the upgrade process.
Adding a new Live Upgrade Product
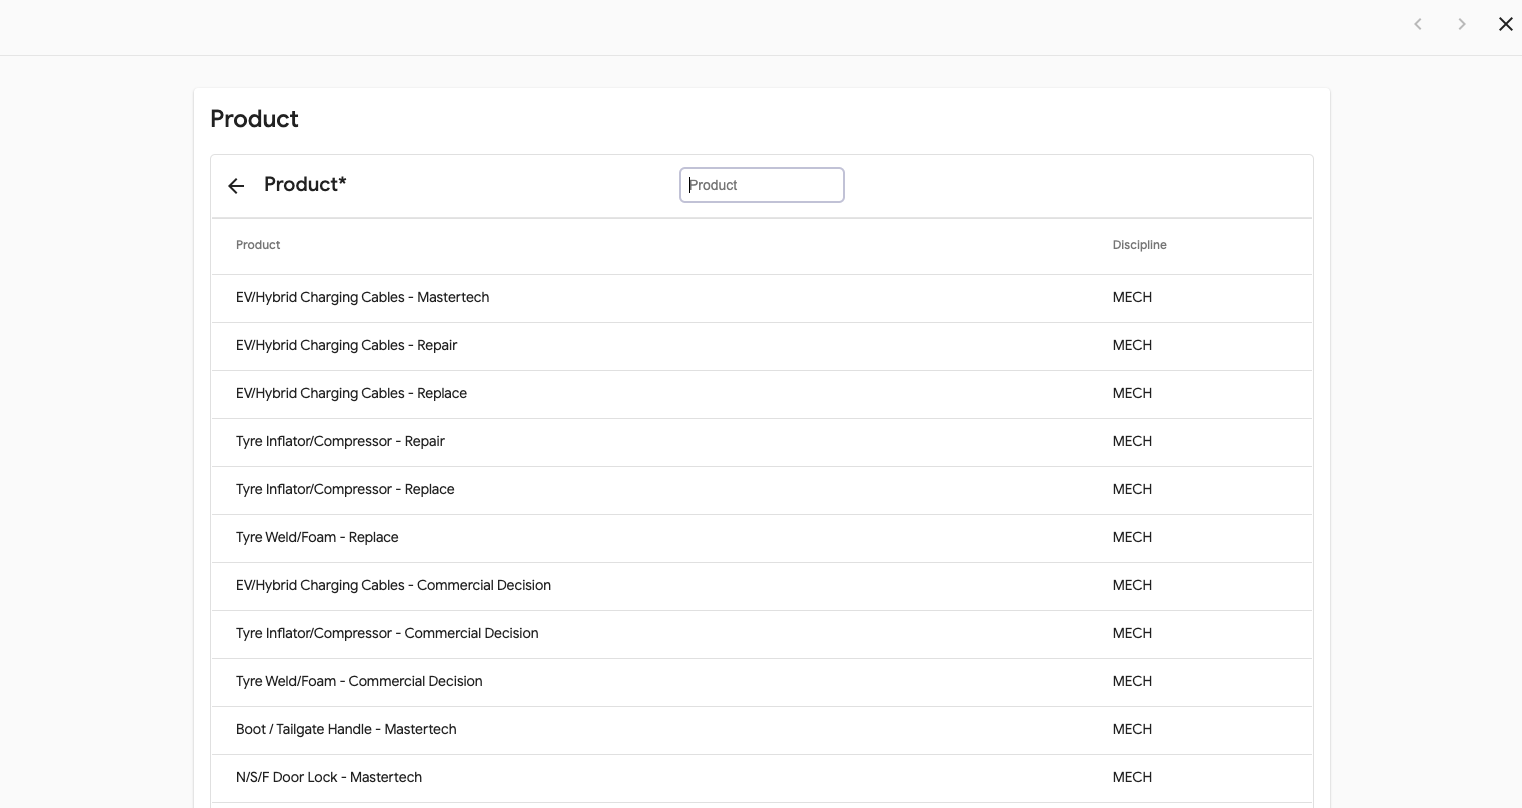
To add the new work, press the "+" button to being the process of finding the item to add:

Next, search for the product by name, and select to add the new product:
The system will prompt for additional upgrade information such as notes and an Upgrade Reason (which must be supplied):
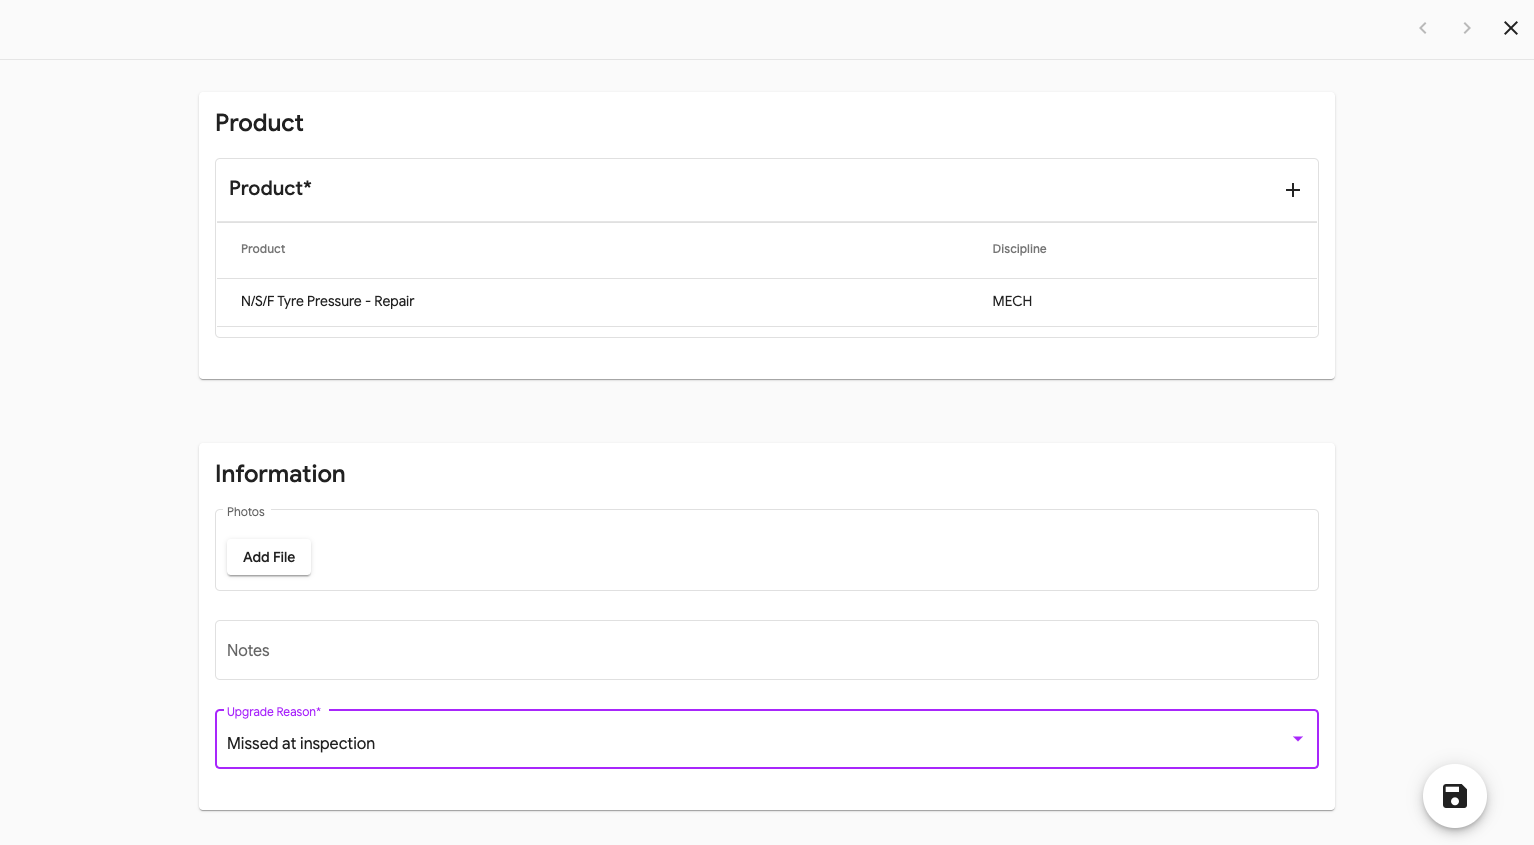
Finally, press Save to add your upgrade.
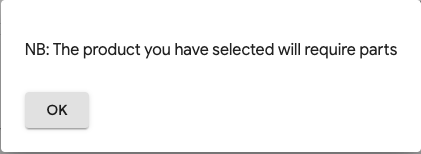
Parts Notification
Because Live Upgrades don't go through parts and parts pricing, if you select an item that requires parts, you'll be presented with an informative popup letting you know that parts need ordering. You'll need to notify Parts so that these can be added manually to the system:
Spend Limits
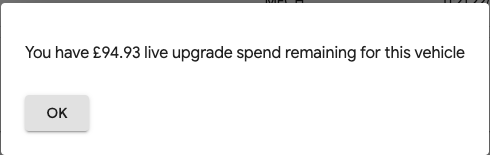
When upgrading a vehicle, the system keeps track of the amount of spend on live upgraded work. A tolerance is provided such that once that spend limit is met, the vehicle will need to go through the regular "Upgrade" process to be priced. Once an upgrade is complete, if you are within the spend limit, you'll be notified of what the remaining upgrade spend is. If the product you are adding exceeds the remaining spend limit, a notification will be provided and you'll need to follow the upgrade process and take the vehicle out of production.